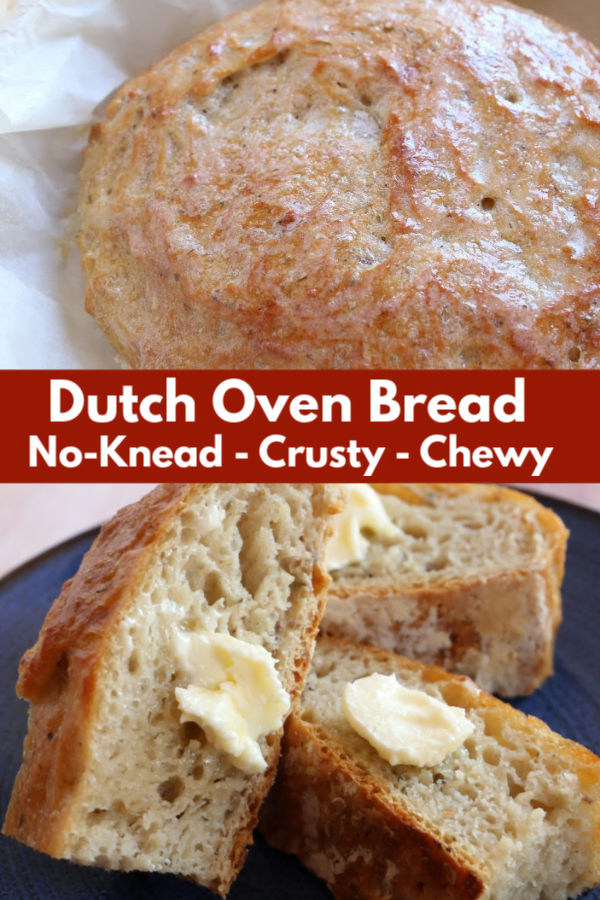
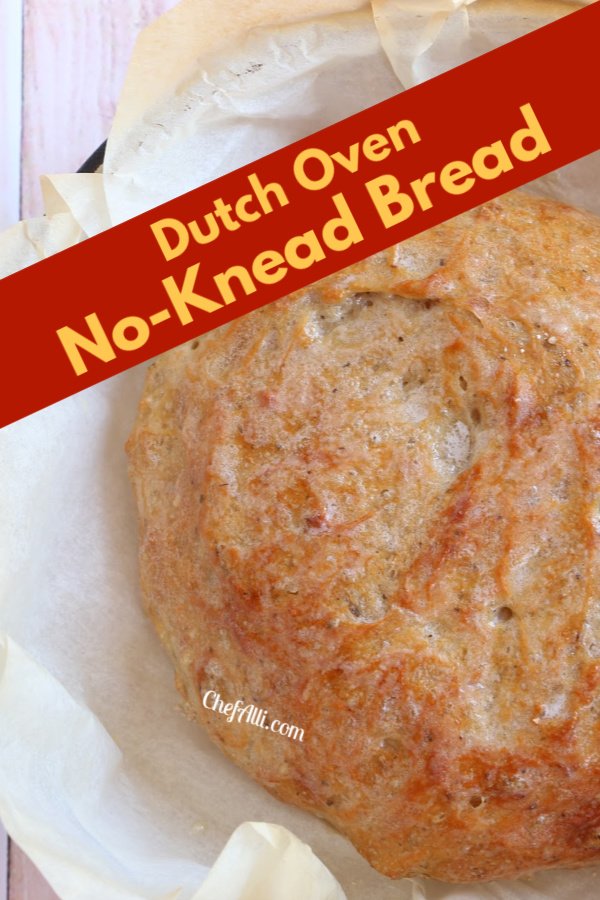
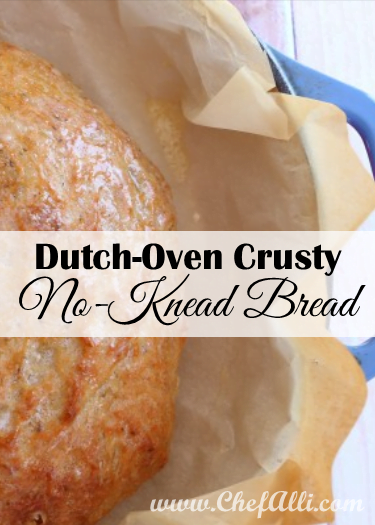
Dutch Oven No Knead Crusty Bread
Calling all bread lovers! You’ve just found the BEST EVER bread recipe….and nary a minute is spent kneading. Yep, this Dutch Oven No Knead Crusty Bread recipe makes bread that’s crusty, chewy and dense….without all the work.
No-Knead Bread Baked in a Dutch Oven Recipe
We eat a lot of soups here in Kansas where the winters are long and hard. It’s super handy to have these pots of soup in the fridge throughout the week so my guys can ladle out a bowl and reheat it in the microwave when they need a quick meal.
And, because I’m a huge Instant Pot fan and user, I’ve got several Instant Pot soup recipes that I really enjoy making, such as Instant Pot Broccoli Cheese Noodle Soup and Instant Pot Sauasage, Bacon and Potato Soup.
Things to Love About This Recipe –
- No kneading. No kneading. No kneading. Yay!
- You’ll see how easy it is to make and bake homemade bread.
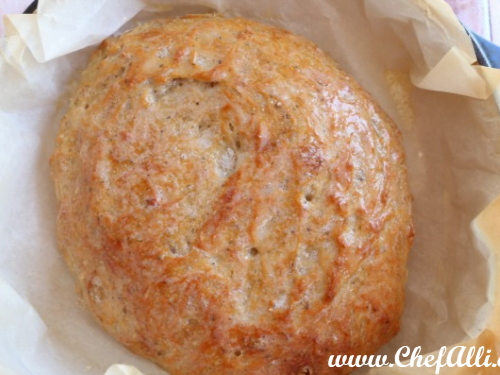
- It’s a chewy, crusty, and dense bread….perfect for soppin’ up soup.
- It’s a 5-ingredient recipe!
- And what smells better than bread baking in the oven? You family is going to go crazy.
How to Make No-Knead Bread in 5 Easy Steps
- Stir together the dry ingredients, then add the water, stirring the dough just until it comes together and looks pretty shaggy; cover the bowl with plastic wrap, setting it aside in a warm place in your kitchen for 8-10 hours.
- Remove the dough from the bowl and place it onto a floured sheet of parchment paper; let it rest for 30 minutes
- Meanwhile, heat up your cast iron Dutch oven so that when your dough has finished resting, you can place it into the preheated pot to bake.
- Cover the hot Dutch oven with the bread dough inside, baking it covered for 45 minutes; remove the lid and continue to bake the bread, uncovered, for a few more minutes until the crust is golden brown.
- Remove the bread to a cooling rack, letting it cool before slicing….like anybody can DO that, right?? Serve the bread slathered with butter, alongside your favorite pot of soup.
Save this Recipe
Helpful Recipe Tips for Making This Bread
There are lots of no-knead bread recipes out there. What makes this variation so good?
- Well, for starters, it’s a 5-ingredient recipe. Nice and simple…no fancy, special ingredients that you’ve got to go retrieve. You probably already have all the ingredients on hand.
- Secondly, once you let the dough raise and do it’s thing, the rest of the recipe process is an absolute cake walk. While the dough is raising, you can do other things, too.
- No kneading involved – whew!
What is a Dutch oven? What size is best for this recipe?
- A Dutch oven is a large heavy cooking pot with a lid that fits snugly, typically used for braising meats. For this recipe, I use 6-quart Dutch oven.
Why does this recipe recommend using a cast iron Dutch Oven for making this bread?
- Because cast iron is very heavy duty, it can handle a lot of heat and it also cooks very evenly; and cast iron promotes superior browning. (And remember, when we are referring to cooking, brown is not a color, it’s a flavor!)
- Because a Dutch oven is a rather deep pot, your bread can raise and bake inside (even with the lid on), making it the perfect set up for bread that turns out with a nice, crusty exterior.
- Great questions! If you don’t have a Dutch oven, you can use a deep 12-inch heavy-duty skillet with a lid (or use foil instead) or any type of oven-proof soup pot.
- Because the oven temperature for this recipe is very hot (450 degrees F), I don’t recommend the use of a glass casserole dish, just in case it might possibly break due to such high heat. Any type oven-proof pot or Dutch oven (it doesn’t have to be cast iron) will work fine, as long as you have a lid for it.
What if I’m not comfortable working with yeast to make bread?
- This is a great recipe for newbies who may be a little hesitant when working with yeast. Instead of adding the warm water directly to the yeast, it is added to a mixture of flour, salt, and yeast together, which helps to protect the yeast.
It’s frustrating when it seems like I always wind up killing the yeast when I make bread dough. What am I doing wrong?
- Liquids that are too warm when added to yeast can definitely kill it.
- This is a common problem, and here’s how to solve it: First of all, the water you want to mix with your yeast should never be warmer than the warm water you’d give your baby a bath in!
- Test the water that’s running from the faucet with your elbow. When the water from the tap is nicely warm as it runs over your elbow, it’s the perfect temperature for adding to your yeast.
Other Recipes to Enjoy –
-
No-Knead Peasant Bread
-
Mexican Cheese Bread
-
Easy English Muffin Bread with Instant Pot Strawberry Jam
-
Artichoke Olive Cheese Bread
-
Cheesy Pull-Apart Pesto Bread
Dutch Oven No-Knead Crusty Bread
Save this Recipe
Ingredients
- 4 1/3 cups all-purpose flour
- 2 tsp. kosher salt
- 1 1/2 tsp. active dry yeast, I use quick-rise
- 2 1/4 cups warm water
- butter, softened
Instructions
- In a large mixing bowl, whisk flour, salt and yeast until well combined; add the warm water, stirring until a rough dough forms; the dough will be super wet and very sticky to the touch.
- Cover the bowl of dough tightly with plastic wrap, setting it aside in a warm place, 8-12 hours (I prefer to do this overnight) until the dough rises, and then flattens out a bit on top; punch the dough down.
- Generously flour a sheet of parchment paper; transfer the dough from the mixing bowl to the prepared parchment paper. With floured hands, form the dough into a rounded loaf, then sprinkle the top of the loaf lightly with flour. Lay a sheet of plastic wrap over the dough, letting it rest for 25-30 minutes on the parchment.
- Meanwhile, as the dough is resting, prepare a 6-quart Dutch oven for baking. Preheat the oven to 450 degrees F. Place Dutch oven, along with the lid, into oven, letting it fully preheat for 30 minutes before baking bread.
- Remove the Dutch oven from the hot oven. Uncover the dough; using the edges of the parchment paper, carefully transfer the dough into the hot Dutch oven, keeping the parchment paper beneath it. Cover the Dutch oven with the hot lid, returning it to the oven to now bake the bread.
- Bake the bread 45 minutes, covered, then another 15-20 minutes, uncovered, until the bread is baked throughout and golden brown on top. Remove the bread from the oven and gently slather a bit of butter over the top of the loaf; cool the bread before slicing.....if you can wait that long. Serve the slices of bread slathered with softened butter.
Notes
- Test the water that's running from the faucet with your elbow. When the water from the tap is nicely warm as it runs over your elbow, it's the perfect temperature for adding to your yeast.
- This is a great recipe for newbies who may be a little hesitant when working with yeast. Instead of adding the warm water directly to the yeast, it is added to a mixture of flour, salt, and yeast together, which helps to protect the yeast.
- Because the oven temperature for this recipe is very hot (450 degrees F), I don’t recommend the use of a glass casserole dish, just in case it might possibly break due to such high heat. Any type oven-proof pot or Dutch oven (it doesn’t have to be cast iron) will work fine, as long as you have a lid for it.
Nutrition
Nutritional Disclaimer
Chef Alli is not a dietitian or nutritionist, and any nutritional information shared is an estimate.
We love hearing from our readers and followers, so leave us a comment if you’d like. If you don’t hear back from us shortly, know that we may not have seen your comment. Feel free to reach out to us by email: ChefAlli@ChefAlli.com.
Let’s Get You Cookin’,
Chef Alli
PLEASE NOTE: WE DO USE REFERRAL AND AFFILIATE LINKS FOR ITEMS CHEF ALLI LOVES AND RECOMMENDS.
I love making bread now
Hi Susan –
Isn’t it life changing?? So glad you enjoyed this recipe. Thank you for letting me know.
Sincerely,
Chef Alli
I have read several recipes on this bread but and I am confused. They all call for three cups of flour BUT they vary on the yeast from 1/2 tsp to 2 tsp help
Hi Charlie –
Yes, I’ve noticed this too. Typically a package of yeast will have 2 1/4 – 2 1/2 tsp. of yeast. I’ve made this recipe many times with 2 1/2 tsp.of yeast and it works great. Also, I have had several people let me know they’ve used my recipe and loved the bread. I sure help that helps you! If you give my bread recipe a try, please let me know how it goes. I’ll be anxious to hear back from you!
Sincerely,
Chef Alli
Super easy & very tasty. I must admit I was skeptical about the no knead part, but it really is a no knead recipe. I will definitely be making this again. Can’t wait for cold weather to make a pot of soup to go with the bread. Thanks Chef Alli!
Hi Laurie!
Ha! Ha! That’s exactly how I was (skeptical!) when I first came across this recipe and gave it a try. I was thrilled when it turned out so tasty since it’s so dang easy to whip up. Glad to know you enjoyed it. Soup weather is fast approaching and I’m pretty excited about it!
Sincerely,
Chef Alli
I’ve made this 2 times – both times the bread was so incredibly sticky and soft that there was no way it could be “punched down and shaped into a ball” it just oozed all over the place. I am NOT a bread maker – much to my dismay – so please tell me how to get this dough firmer – just add more flour? I did get it into my dutch oven and it baked ok – but wonder it if might have turned out better if it was firmer to begin with. All advice is most welcome! thank you….
Hi Susan – I’m so sorry! I’m just now seeing your comment – please, please forgive me for not getting back with you sooner. Also, forgive me, but I had to laugh (and it was a good belly laugh, too, fyi) at what your wrote….mainly because I could envision it perfectly from what you described – so sorry! And, yes, to get the dough firmer, you’d add a little more flour, but you don’t want to add TOO much as that can really affect the texture of the final product. You’d just want to add enough flour to make it a little easier to handle. I hope that helps! Also, if you haven’t tried it yet, give the Peasant Bread on my site a try – I make this recipe nearly every other week for my family and friends. It makes the best TOAST, too. Here’s the link: https://chefalli.com/2014/02/23/peasant-bread/
Your fan, Chef Alli