14 Best Instant Pot Tips For Beginners
If you received an Instant Pot from Santa, or recently made the big purchase yourself, you may be wondering how to best get started on your pressure cooking journey, and you may be wondering and worrying about the following:
- Are there lots of instant pot recipes available for beginners?
- How will I use an Instant Pot, anyway? Are good Instant Pot instructions available? What about Instant Pot accessories – do these cost alog?
- Will I have to purchase an Instant Pot for Dummies book???
- Yep, there on tons of Instant Pot recipes on Pinterest and it’s great to join electric pressure cooking Facebook groups, too – these are wonderful resources.
Don’t let “information overload” get you overwhelmed. Just take a deep breath and know in your heart it’s gonna be OKAY. I promise. Read on!
Please Note: We do use referral links for products and services that Chef Alli loves and recommends!
14 Instant Pot Beginner Tips That Will Help You Conquer
Below are my top Instant Pot beginner tips to get you over the hump and feeling much more confident. The Instant Pot is a small appliance “work-horse”that is forever going to change how you do dinner.
1. First things first: LIQUID.
- In order for your Instant Pot to pressurize, you must have liquid inside. The very bottom of your pot should be covered by about 1/4-inch of liquid. Yep, that’s all! At least 1 cup of liquid is recommended for a 6-quart pot, and 1 ½ – 2 cups of liquid is recommended for an 8-quart pot. Liquid is the key!
- And here’s why: When you begin the electric pressure cooking process, the liquid in your Instant Pot begins to circulate. This circulation is what creates the steam. And steam is what makes your Instant Pot pressurize. So remember, no liquid inside, no pressurization, no dinner.
- What liquid should I use? Lots of recipes call for water, but I find that using broth is actually best because it amps up the flavor of whatever you’re cooking. Unless I’m hard boiling eggs, I find that 95% of the time I’m using broth instead of water in my Instant Pot….occasionally beer or wine.
- The exception to the Instant Pot liquid rule. There are 3 foods you will cook in your Instant Pot that are an exception to the rule: pastas, grains, and beans.
- Whenever you are cooking a pot full of pastas, grains or beans, you will need to be sure they are covered with liquid by at least 1-inch above the mark where they fill the pot.
- Pasta and grains require this much liquid because they both absorb much of the liquid as they cook (which means no draining – yay!) Beans also need to be covered in liquid when they cook, but you will have to strain them once they are tender.
2. Two things you can totally stop worrying and wondering about:
- Brand doesn’t matter. Don’t worry about which BRAND of electric pressure cooker you have. All electric pressure cookers (no matter which brand….Instant Pot, Cuisinart, Farberware, Pressure Cooker XL, etc.) work under the same basic premise: they need liquid in order to create steam, which in turn makes pressurization.
- Yep, they are all multi-cookers. All electric pressure cookers are multi-cookers that perform many functions – they braise, steam, pressure cook, sauté, perform as a rice cooker and as a slow cooker. Some Instant Pots even sport a yogurt maker button, as well. Learn more about Making Homemade Instant Pot Yogurt here!
3. Know which size Instant Pot it is that you are cooking with.
- Size does matter….at least when you’re talking Instant Pots! Most recipes are created for 6-quart pots since that is the original size that became popular when this small appliance first hit the market.
- Different size pots cook differently. That said, if you own a 3-quart Instant Pot or an 8-quart Instant Pot, be aware that recipes created for the basic 6-quart Instant Pot will need to adjusted. As an example, an 8-quart pot will need more liquid to cover the bottom of the pot and the cooking time will increase a bit since this size pot is larger and holds more ingredients. Likewise, a 3-quart pot will work just the opposite – less water, less cooking time, less food.
- Recipes. If you’re using a 3-quart Instant Pot, look specifically for 3-quart recipes, and the same goes for the 8-quart pot. Most recipes state which size pot it needs. If the recipe you want to make does not state which size Instant Pot it’s been created for, the likelihood is that the recipe is for a standard 6-quart Instant Pot.
4. Read the Owner’s Manual That Comes with Your Instant Pot.
- Then read it again. This will help you get familiar with the parts and pieces of your pot, how they all go together, and the basic premise of operation. Please don’t skip this step!
- Food charts. Also, most owner’s manuals come with food charts included. These are a very handy reference when you want to know how long you cook specific ingredients. The food charts are usually grouped by types of foods – meats, poultry, beans, grains, vegetables, etc. Many food charts also include how long to cook foods based on whether they are fresh or frozen, too. (Yes, you can cook many foods in your pot that are frozen!)
- As an example, let’s say you look in your fridge and realize there are a couple of chicken breasts in there that really need to be quickly cooked before they expire. Being able to easily check the food chart in your owner’s manual to see how long the chicken needs to cook under pressure makes it easy to get them cooked, cooled, and eaten or frozen for later.
- If you don’t have an owner’s manual, you can always use this printable quick cooking chart. Print it off and tape it to the inside of a kitchen cabinet door for help when you need it!
5. Cook yo-self some water (First!) to learn how your Instant Pot works.
- Yep, this is your first “recipe” and a very important first step. You’ve always wanted to make pressure cooked WATER, right?? 🙂
- Cooking water as your first exercise with your Instant Pot is two-fold: First, it lets you learn how to bring your Instant Pot up to full pressure. Secondly, if it’s just WATER that you’re cooking as your first trial run, you don’t have to fear any costly repercussions, such a meal that doesn’t exactly turn out right the first time you cook in your Instant Pot. (Never a good thing!)
- Taking the time to first cook water in your Instant Pot allows you to really gain some good insight and experience into how your pot works. You’ll see how the Instant Pot pressurizes, how to adjust the pressure release knob, how the float valve raises when the pot becomes fully pressurized, how the float valve drops when the pressure is removed, and what the front display shows as the pressure cooking process takes place.
6. Perform your very first Instant Pot quick release to remove pressure.
*Warning: Your first Quick Release can be a little startling, but you will get used to that very quickly once you’ve done it a couple of times.
- When you’ve finished the Instant Pot cycle that cooks your water, it’s time to release the pressure that has built up inside your pot so you can unlock and remove the lid.
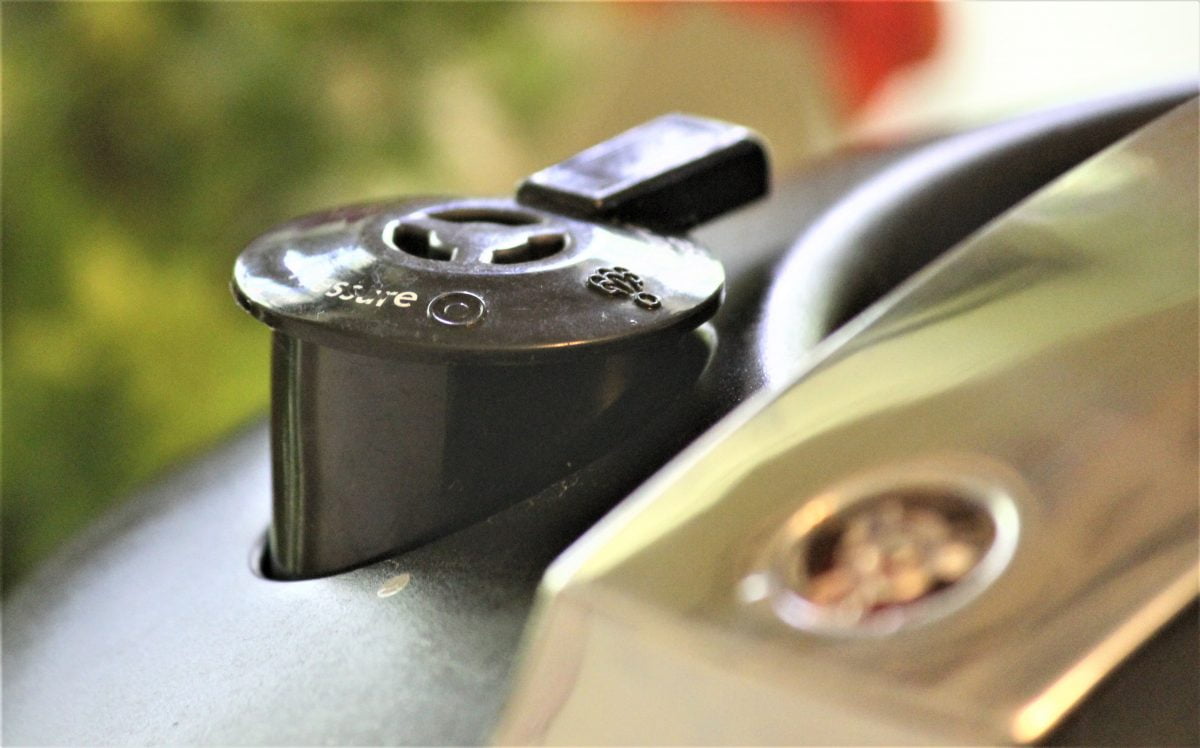
- To let the pressure and steam out of your Instant Pot, turn the pressure release knob at the back of the lid to the setting that says venting. Steam will quickly begin escaping and hissing – this is how a quick-release works, so don’t be alarmed!
- You will know that all the pressure has been released from the Instant Pot when two things happen: no steam is escaping from the pressure release knob any longer and you’ll also hear the float valve drop. Once the float valve drops, your Instant Pot lid will unlock so you can easily turn it to open.
- If you cannot easily turn the Instant Pot lid to remove it, this is a huge indicator that there is still pressure remaining in the pot. Never force the Instant Pot lid to open – this is very dangerous and could cause you or someone nearby to get badly burned from either steam that could still escape, or by having the hot contents inside the pot slosh out.
- If the Instant Pot lid won’t unlock and easily turn, test the pressure release knob again by turning it to the venting setting once more. Chances are there’s a bit more pressure inside the Instant Pot that has to be released before the float valve drops to allow you to open the lid.
7. Don’t delay! Jump right in and get cooking with your Instant Pot.
- Once you’ve cooked WATER, you need to follow right up with a simple, basic recipe. And, NO, that would not be Grandma’s Pot Roast…..sorry. Attempting to cook meat as your first Instant Pot recipe can really backfire, causing you to become discouraged, never wanting to use your Instant Pot again.
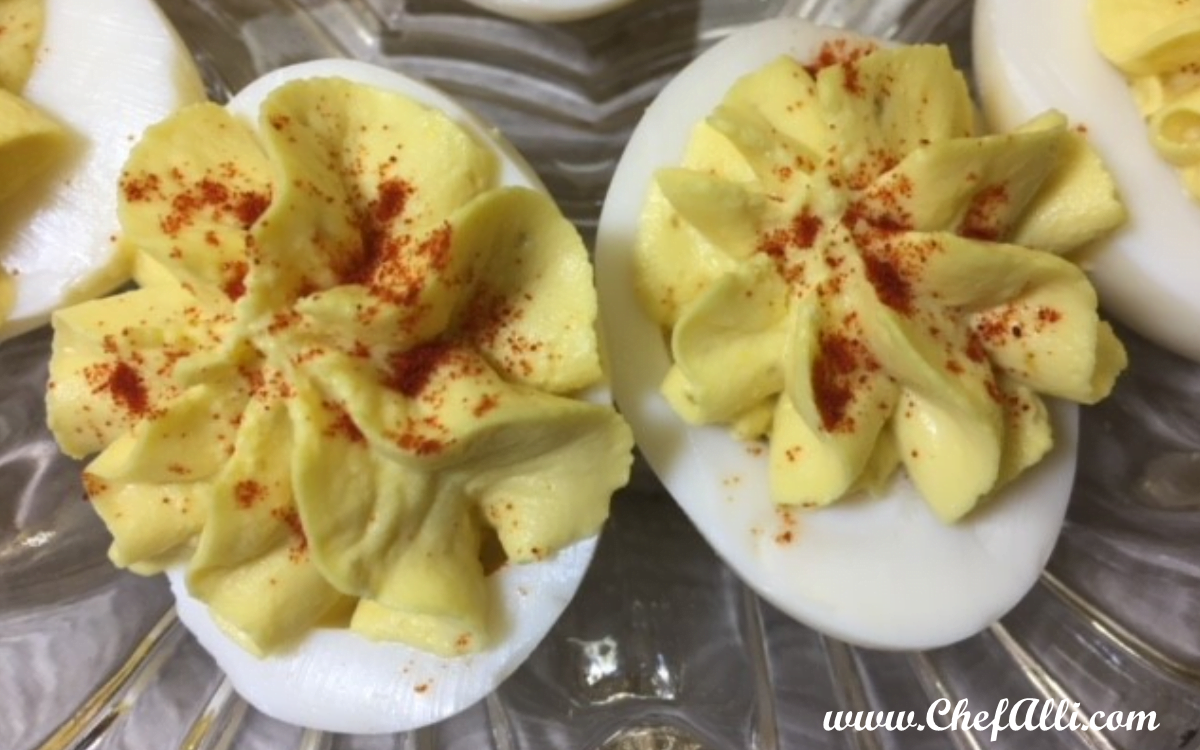
- Instead, I recommend you begin with these three foods (in order) to gain confidence: hard boiled eggs, applesauce, and macaroni and cheese.
- When you cook water, hard-boiled eggs, and macaroni in cheese in sequence, you will quickly build excitement and confidence, which is EXACTLY what you need at this early stage of the pressure cooking game.
- Always view your first pressure cooking experiences as experiments so you don’t feel anxious or stressed. If you learn something, it’s not a fail!
8. Learn some Instant Pot lingo.
Learning the language of electric pressure cooking will help you feel more confident, and luckily there are just a couple of important terms to know.
Save this Recipe
- NPR – Natural Pressure Release. A natural release means you let your Instant Pot’s pressure naturally come down on it’s own….the exact opposite of doing a quick release.
- QR – Quick Release. A quick-release means you release the pressure inside the Instant Pot immediately by turning the pressure release knob to the venting position.
- Pot Head – This term is for any body who crosses over “to the dark side” and loves their Instant Pot. I am proud to be an official Pot Head!
9. Learn where the manual button is located on the front of your Instant Pot.
- When you look at the front display of an Instant Pot (or most any electric pressure cooker) you will see an array of food group buttons. These buttons are typically labeled as soup, meat/stew, rice, grains, beans, etc.
- The food-group buttons are pre-programmed at the factory with specific time settings which can be re-programmed at any time once you learn more about Instant Pot cooking.
- I personally do not use the food group buttons on my Instant Pot because I prefer to use the Manual button. Using the manual setting allows me to choose the cooking time that I prefer when cooking under pressure, based on what my recipe specifically recommends, which can vary.
10. Don’t stir the pot….literally.
- This can be one of the hardest things to do when you are first begin cooking in your Instant Pot!
- Remember how we discussed liquid (and it’s importance) in Tip #1? Well that’s exactly why you DON’T want to stir the ingredients you place inside your Instant Pot until after you’ve cooked them.
- If you stir your ingredients after layering them into your pot, (primarily when you’re cooking pastas, grains, or bean recipes) the liquid needed to create the steam and pressure gets stirred into the center of these ingredients which is exactly where you don’t want it to be.
- By not stirring the ingredients you place into the Instant Pot, you are allowing the liquids that are on the bottom of the pot (and sometimes on top of your ingredients, too) to circulate. And remember, liquids that circulate inside the Instant Pot are what create the steam that’s needed to pressurize your dinner.

11. Understand that the cooking time countdown doesn’t begin until the Instant Pot is fully pressurized.
When an Instant Pot recipe states the time that is needed for the ingredients to cook, it is referring to the time UNDER PRESSURE. This doesn’t include the time required to bring the Instant Pot up to pressure since this can vary.
Once the Instant Pot is fully pressurized, you will see the time setting on the front display begin to count down.
12. Appreciate the many cooking benefits the Instant Pot brings home.
In a nut shell: the Instant Pot brings a huge savings of time, intensified flavors, more nutritional value, energy efficiency, and one-pot cooking. And, since there are far fewer dishes required with Instant Pot cooking, clean up time is reduced!
- I also love having the ability to cook up pork butts, pot roasts and turkey breasts on the weekend (in just over an hour!) so that I’ve got cooked meats in my fridge to begin the work week. You can make so many different meals when you have cooked meats ready – pastas, wraps, soups, quesadillas, sandwiches, salads….the list goes on and on.
- And because Instant Pot cooking is very speedy, foods will cook in about half as much time as conventionally cooked foods and meals such as on a stove top or in the oven. Such a time saver!
13. Use good recipes from reliable sources.
- A recipe fail is super discouraging. This is why you absolutely need to seek out recipes that come from reliable websites: HipPressureCooking.com, PressureCookingToday.com, and ThisOldGal.com.
- Find all of my favorite Instant Pot recipes here.
14. Gather up some good Instant Pot cooking tools.
- Metal Trivet – Every pressure cooker should come with a metal trivet that fits in the bottom of the pot. A trivet is primarily used for what is called pot-in-pot cooking, like when you want to cook a Key-Lime Cheesecake or an Enchilada Casserole that cooks in a spring form pan, or a Pumpkin Chocolate Chip Pound Cake that cooks in a bundt pan.
- Silicone Trivet – If you don’t care for using a metal trivet, there are lots of cool silicone trivets available. Metal and silicone trivets perform in the same ways, but some people prefer the silicone since it comes in pretty colors and won’t ever scratch your pot.
- Silicone Trivet with Handles – This tool works like a sling to help with lowering pans into the Instant Pot, and especially for removing them when they are hot from the cooking process.
- Silicone Mold for Making Egg Bites – If you like healthy on-the-go breakfasts, you’ll enjoy using a silicone mold for making Instant Pot Cheesy-Bacon Egg Bites and Instant Pot Pop-And-Go Egg Bites. (I’ve heard you can also make brownie bites in this mold, but I’ve never tried it.)
- Silicone Egg Holder – This tool keeps eggs upright and steady when they are being hard-boiled in the Instant Pot.
- Bundt Cake Pan – Are you a fan of moist and luscious pound cakes? You’ll want to purchase a 7-inch (6-cup) bundt cake pan for making cakes in your 6-quart Instant Pot.
- Spring-form Pan – If you’re a cheesecake fan, you’ll definitely need a 7-inch spring-form pan!
- Replacement Silicone Gaskets – At some point, but after quite a lot of use, you will need to replace the silicone gasket that is inside the lid of the Instant Pot. You will know when you need to replace it: the silicone ring becomes yellowed and loose-fitting with age and use.
Other Instant Pot Resources You May Find Helpful –
- The First 4 Things You Should Cook in Your Instant Pot
- How to Make Your Instant Pot Pressurize Faster
- 12 Ways an Instant Pot Saves You Time in the Kitchen
- 7 Solid Reasons You Need an Instant Pot
- The Best Instant Pot Tools and Accessories
- The Top 6 Reasons Your Instant Pot Won’t Pressurize and What To Do About It
How to Cook Frozen Meat in an Instant Pot….Really!
Your Top Instant Pot Questions…..Answered
We love hearing from our readers and followers, so leave us a comment if you’d like. And, if you don’t hear back from us shortly, know that we may not have seen your comment. Feel free to reach out to us by email: ChefAlli@ChefAlli.com