Instant Pot Applesauce
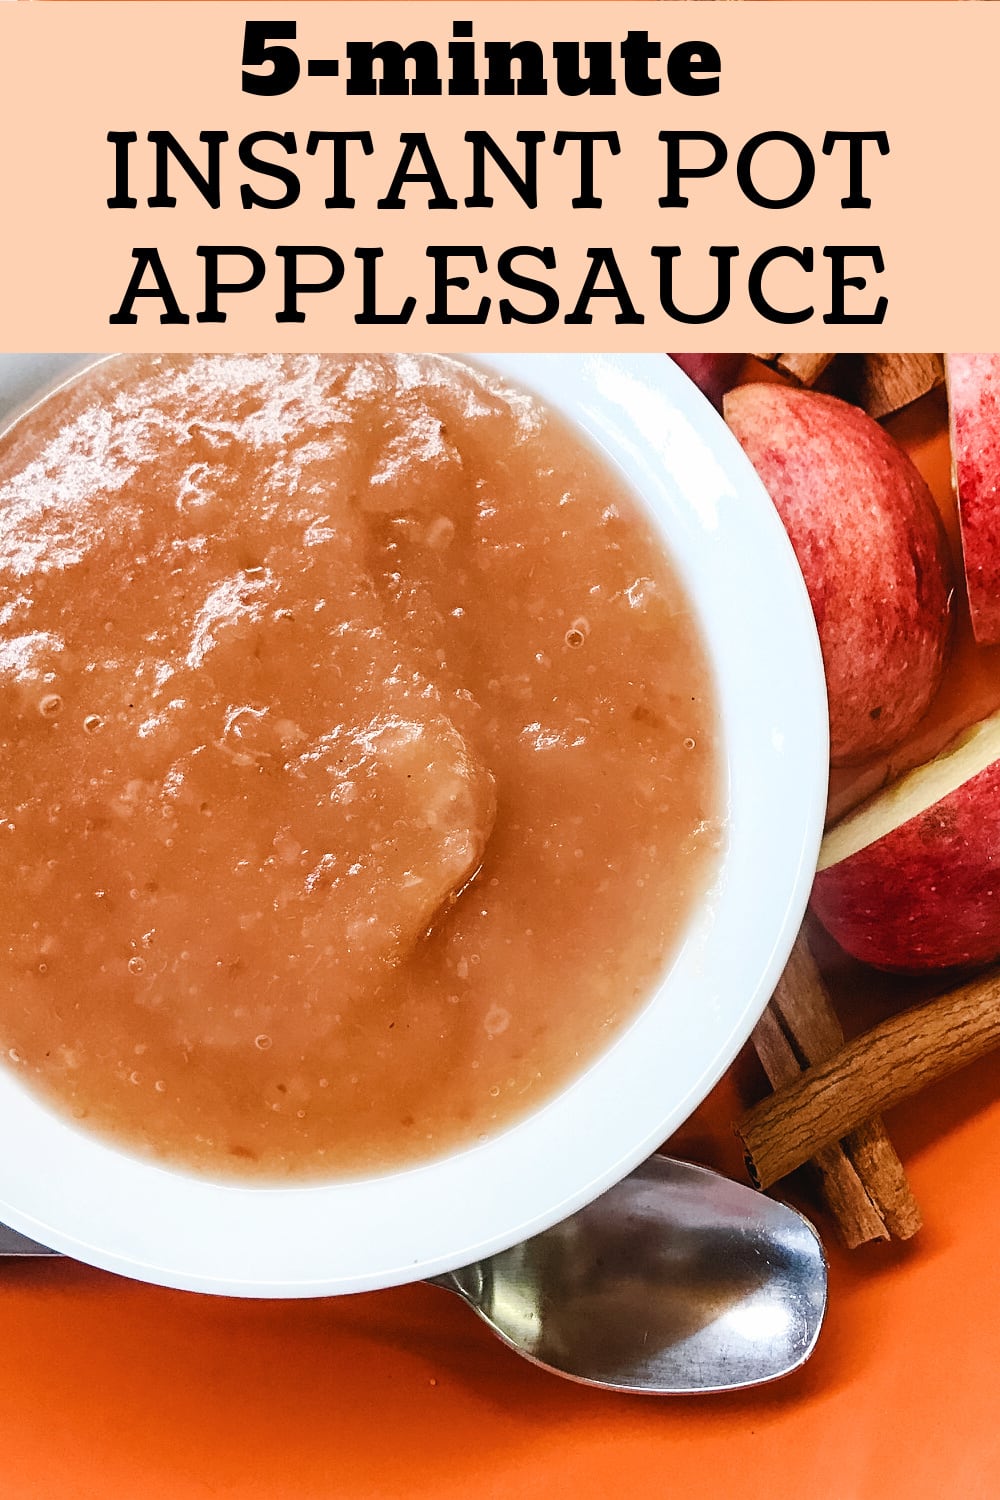
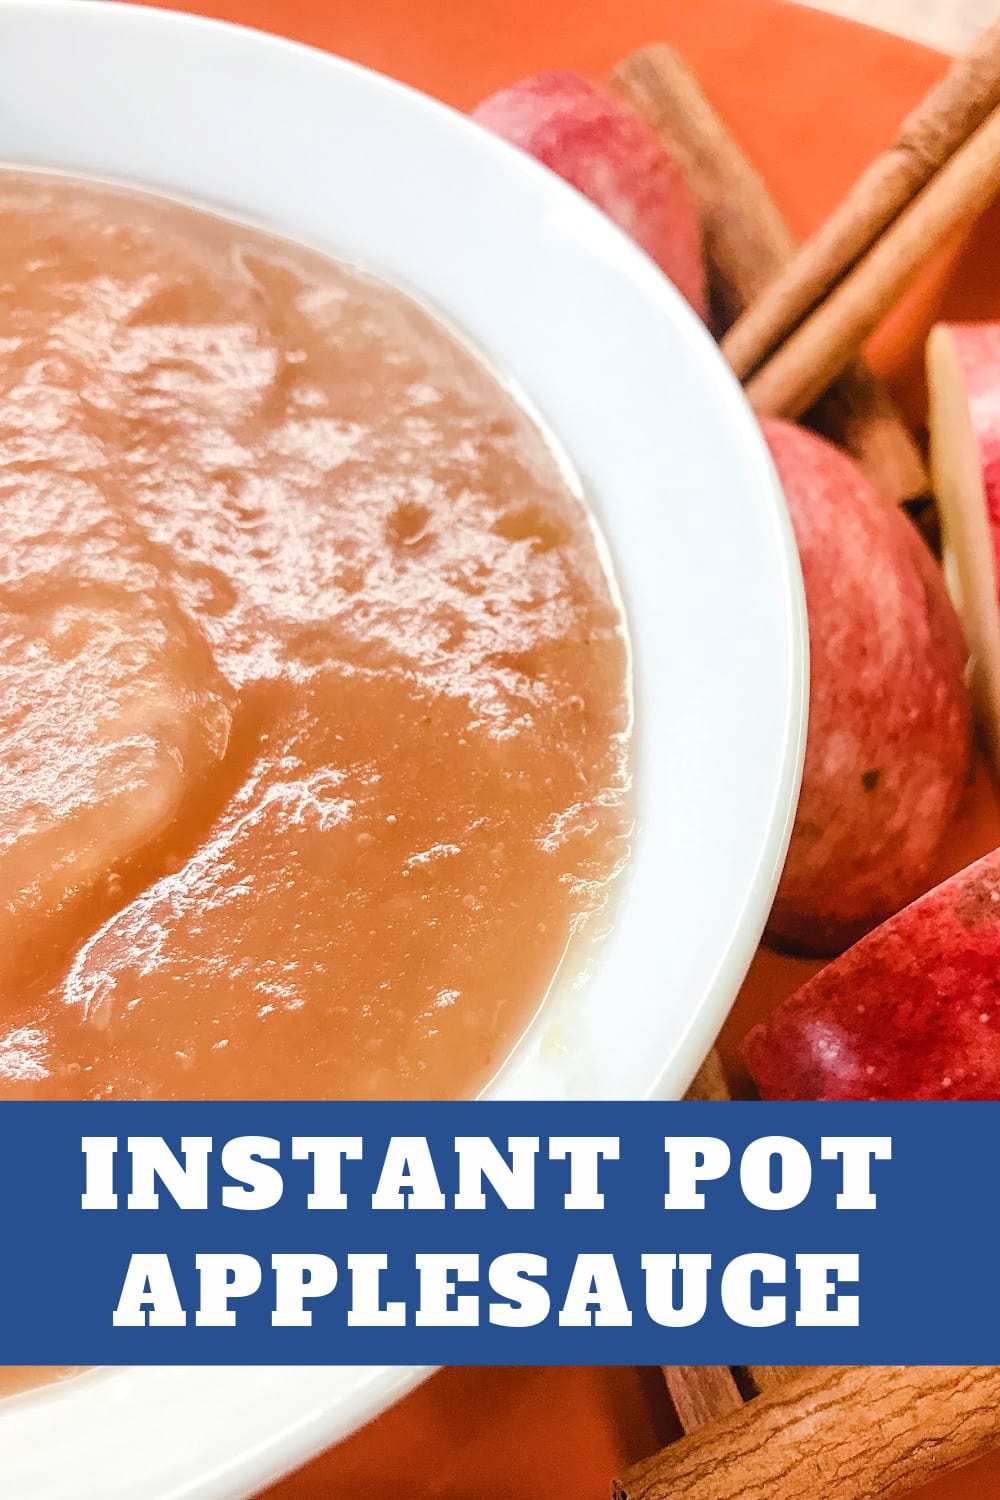
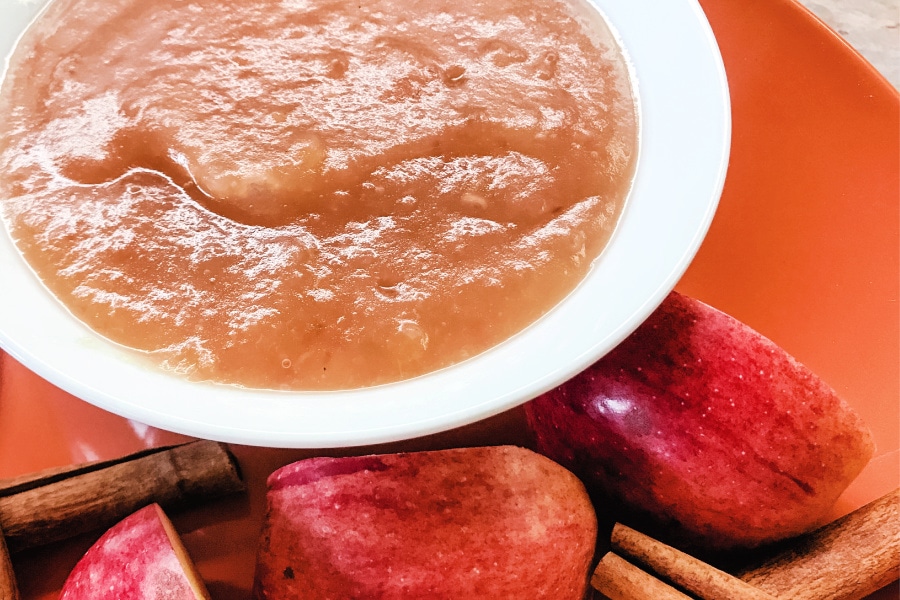
Today I’m sharing how to make homemade Instant Pot Applsauce. In just 5 minutes cooking time and a quick zoom of your immersion blender, you can have have a big, warm batch of delicious applesauce for your family.
Instant Pot Applesauce Recipe
3 great reasons to love this recipe –
- It’s heavenly. And don’t think you’ll be returning to store-bought applesauce anytime soon.
- It’s addictive. You will crave it all the time!
- No peeling required. You can cook the apples right in the skins when using the Instant Pot.
What ingredients do you need to make Instant Pot Applesauce?
- Apples: I prefer a good tart apple for apple sauce, such as a combination of Granny Smith and Jonathon apples. Use what you have on hand.
- Sugar
- Cinnamon or a cinnamon stick
- Kosher salt
- Vanilla
How to Make Instant Pot Applesauce in 5 Easy Steps –
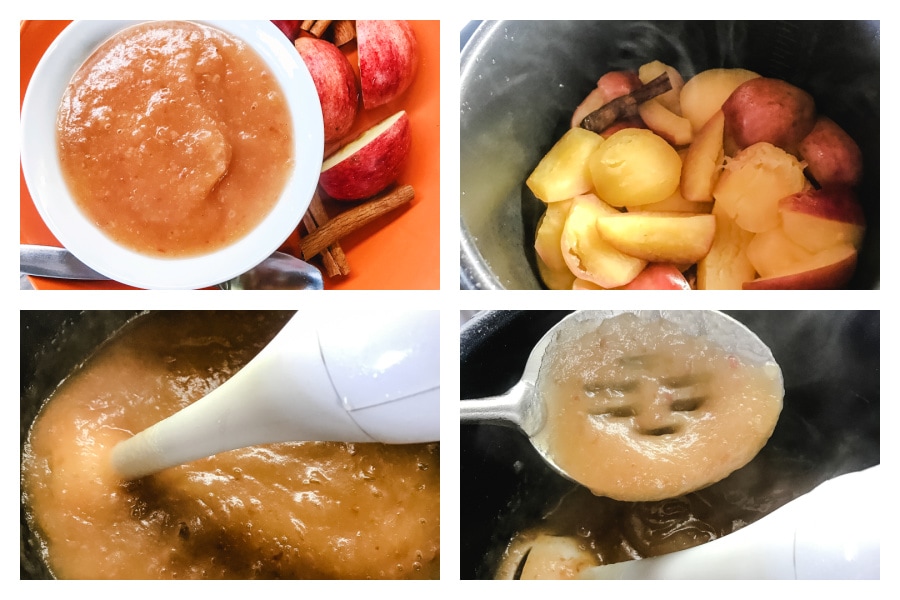
- Wash the apples, then quarter each one and remove the seeds. (Apples can be peeled, if desired, but I never do.) Place the apples into the Instant Pot; add the water or juice, cinnamon stick, sugar, and salt.
- Lock the Instant Pot lid into place; choose the High Pressure setting, then program the timer for 5 minutes. Bring the Instant Pot to full pressure.
- When the Instant Pot timer sounds, perform a quick release to quickly remove all the pressure; carefully unlock and remove the lid.
- Remove the cinnamon stick from the cooked apples. Using an immersion blender to process the hot apples, taking care not to splatter them since they are super hot. Use the immersion blender to process the apples until they reach the desired consistency – we prefer smooth applesauce, but you may like a more chunky style.
- Once the applesauce has cooled a bit, stir in the vanilla. Applesauce can be store in the fridge for up to 4 days, in the freezer for 8-12 months, or canned.
Common Questions Asked About This Recipe –
I really don’t have to peel the apples to make homemade applesauce? How come?
- Because the apples are cooked under pressure in your Instant Pot (or any electric pressure cooker), they don’t need to be peeled…PTL! The pressure totally obliterates both the apple flesh and the apple skins. Cooking the apples with the skin on (if they are red apples) will give the applesauce a nice tinge of pink – so pretty!
Which type of apples are best for making homemade applesauce?
- I think that about any apples work fine for making homemade applesauce, though I’m sure others would disagree. I sometimes use a blend of Jonathon, Gala, and Granny Smith apples just because they are readily available where I live here in NE Kansas.
- If you prefer a sweeter applesauce, cook apples that are on the sweeter side, such as Gala, Fuji, or Honey Crisp. If you prefer a more tangy applesauce, use more tart apples such as Pink Lady or Granny Smith. The options are endless.
- We also have an apple tree and I can honestly say that for whatever reason, the apples aren’t that great for eating, but they make absolutely delicious applesauce!
So applesauce can be stored in the freezer?
- Yep! When you’re ready to eat it, allow a couple hours for thawing then serve as usual, or warm in the microwave to make it extra special when serving to your family or guests.
If applesauce is sweet, why does this recipe call for salt?
- Adding a bit of kosher salt to my applesauce is a personal preference. I think it’s enhances the sweetness of the applesauce, making it mellow and heavenly.
- If you prefer to leave the salt out, that’s totally fine, though I DO wish you do a taste test to see how different the applesauce tastes when you round out the sweetness of the sugar with a bit of salt – the difference in taste is very noticeable.
What if I don’t own an immersion blender?
- Great question. You can transfer the cooked apples to the bowl of a food processor to process the apples until smooth. Or, if that option doesn’t work either, break out a good, old-fashioned potato masher and get the elbow grease going!
Tips for Using an Immersion Blender to Make Applesauce
- Because you are processing very hot apples, be sure to keep the head of the immersion blender beneath the surface of the applesauce at all times so you don’t get splattered.
- As you raise the immersion blender to submerge apples and skin on top that need to be pushed down to be processed, be sure to let off the power as you do so. This keeps you from splattering hot applesauce everywhere.
- Once you’ve processed the applesauce and think it’s a smooth consistency, be sure to use a slotted spoon to sift through the applesauce. The spoon will catch any apple pieces or skin that still needs to addressed with the immersion blender.
More Delicious Instant Pot Recipes –
- Mac and Cheese with Browned Kielbasa Bites
- Electric Pressure Cooking Basics: Hard-Boiled Eggs
- Orzo Chicken Soup
- Holiday Ham
- Mexican Street Corn with Lime and Parmesan
- 5-Minute Pepperoni Pizza Pasta
I have lots of Instant Pot Articles here on my blog – I hope you find them helpful.
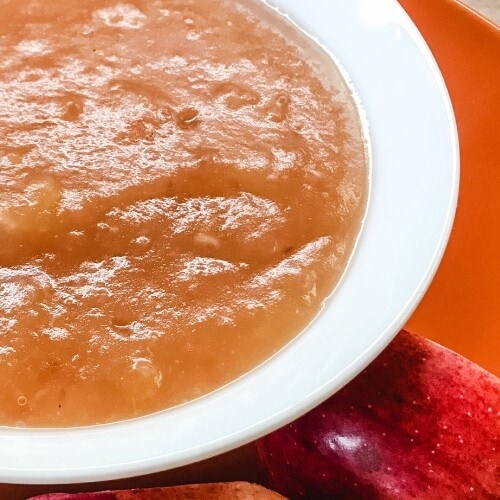
Awesome Instant Pot Applesauce
Ingredients
- 8 medium apples, quartered and seeds removed, skins on, if preferred
- 1 teaspoon cinnamon, or 1 cinnamon sticks
- 1/2 cup water, apple juice, or cider
- 1/3 cup granulated sugar, you may need to adjust this depending on the type of apples you use
- 1 teaspoon kosher salt (or 1/2 tsp. table salt)
- 1 teaspoon vanilla extract, optional
Instructions
- Place the water or juice into the Instant Pot; add the cinnamon, sugar, salt, and apples. Lock the lid into place choosing the High Pressure setting for 5 minutes; bring the Instant Pot up to full pressure.8 medium apples, quartered and seeds removed, skins on, if preferred, 1 teaspoon cinnamon, or 1 cinnamon sticks, 1/2 cup water, apple juice, or cider, 1/3 cup granulated sugar, you may need to adjust this depending on the type of apples you use, 1 teaspoon kosher salt (or 1/2 tsp. table salt)
- When the timer sounds, perform a quick release to remove all the pressure from the Instant Pot; unlock and carefully remove the lid.
- Using an immersion blender, blend the contents of the Instant Pot until smooth. *If you don’t have an immersion blender, a food processor works great too. Or, if you prefer not to use either of these kitchen appliances, peel your apples before pressure cooking them. This way you can use a potato masher or mixer to process your cooked apples until smooth.
- When applesauce has cooled a bit, stir in the vanilla. Store the applesauce in the fridge for up to 4 days or in the freezer for up to 8-12 months.1 teaspoon vanilla extract, optional
- If canning the applesauce after it's cooked, place it immediately into hot pint or quart jars. Add the hot canning lids and rings, tightly screwing on the ring. Place the jars of applesauce into a water bath and process for 20 minutes. Cool the jars of apple sauce, making sure the lids seal securely.
Nutrition
Thanks for visiting! I hope you return soon for more yummy recipes for your family.
We love hearing from our readers and followers, so leave us a comment if you’d like. If you don’t hear back from us shortly, know that we may not have seen your comment. Feel free to reach out to us by email: ChefAlli@ChefAlli.com.
Let’s Get You Cookin’,
Chef Alli
Please Note: We do use referral and affiliate links here for products and services that Chef Alli loves and recommends. I may receive a small compensation when you use these links. This really helps me keep my recipe blog moving forward. Thank you so much!
Save this Recipe
Enter your email address and we will send you this recipe to your mailbox for easy reference! Plus, we will send you our latest recipes every week!

