How to Cook Frozen Meat in an Instant Pot
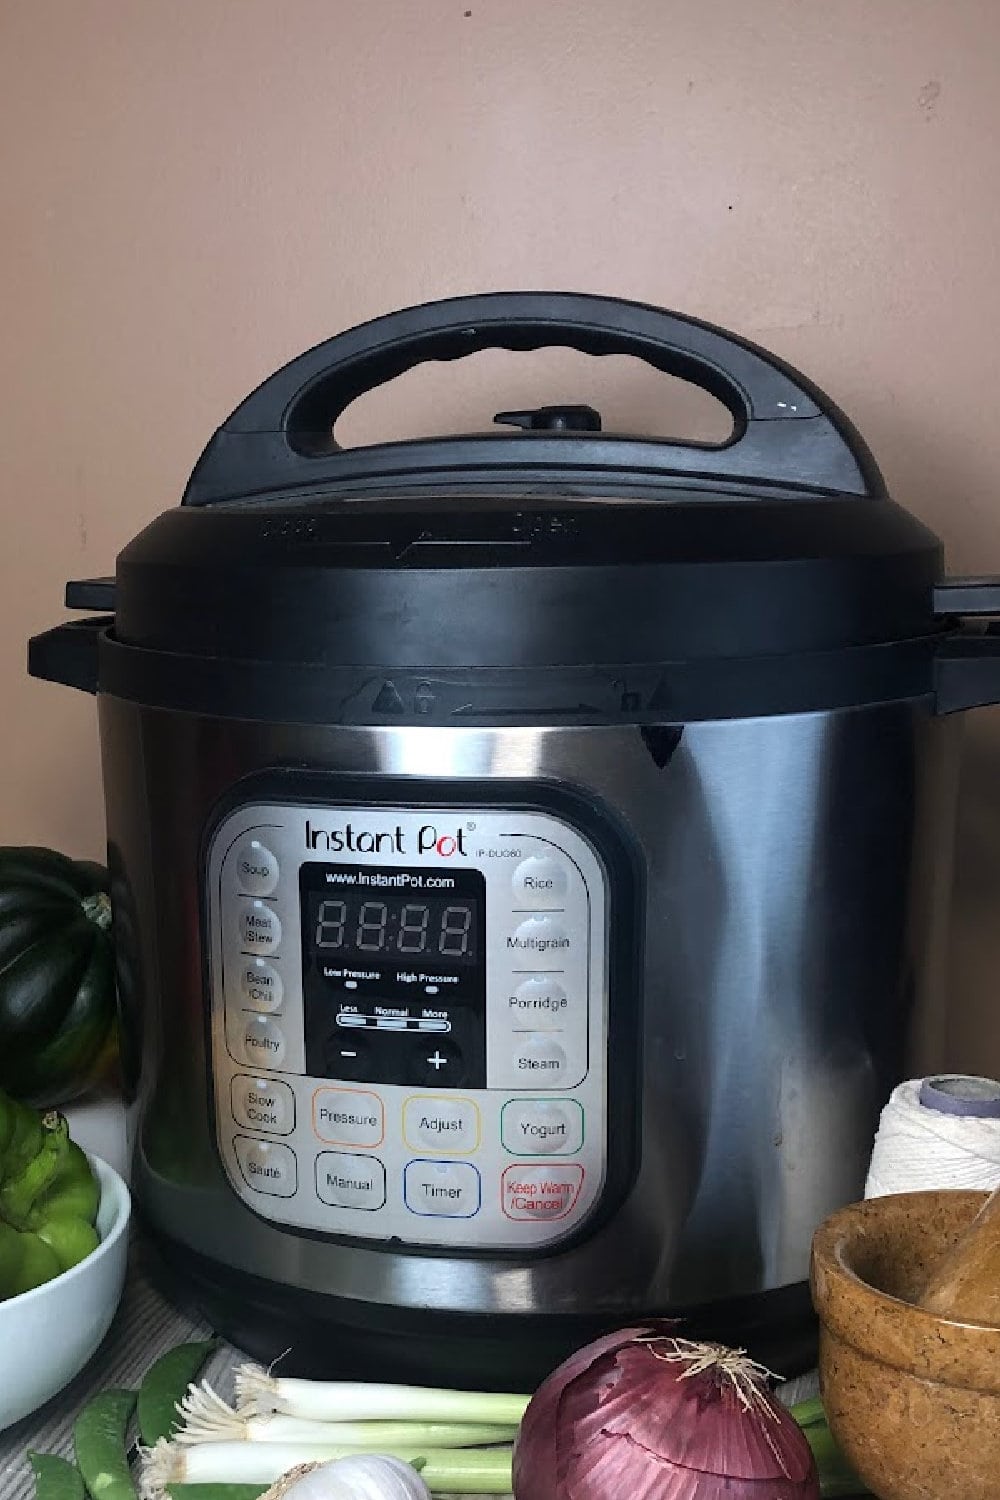
This recipe will teach you How to Cook Frozen Meat in an Instant Pot and explain why you shouldn’t use your crock pot.
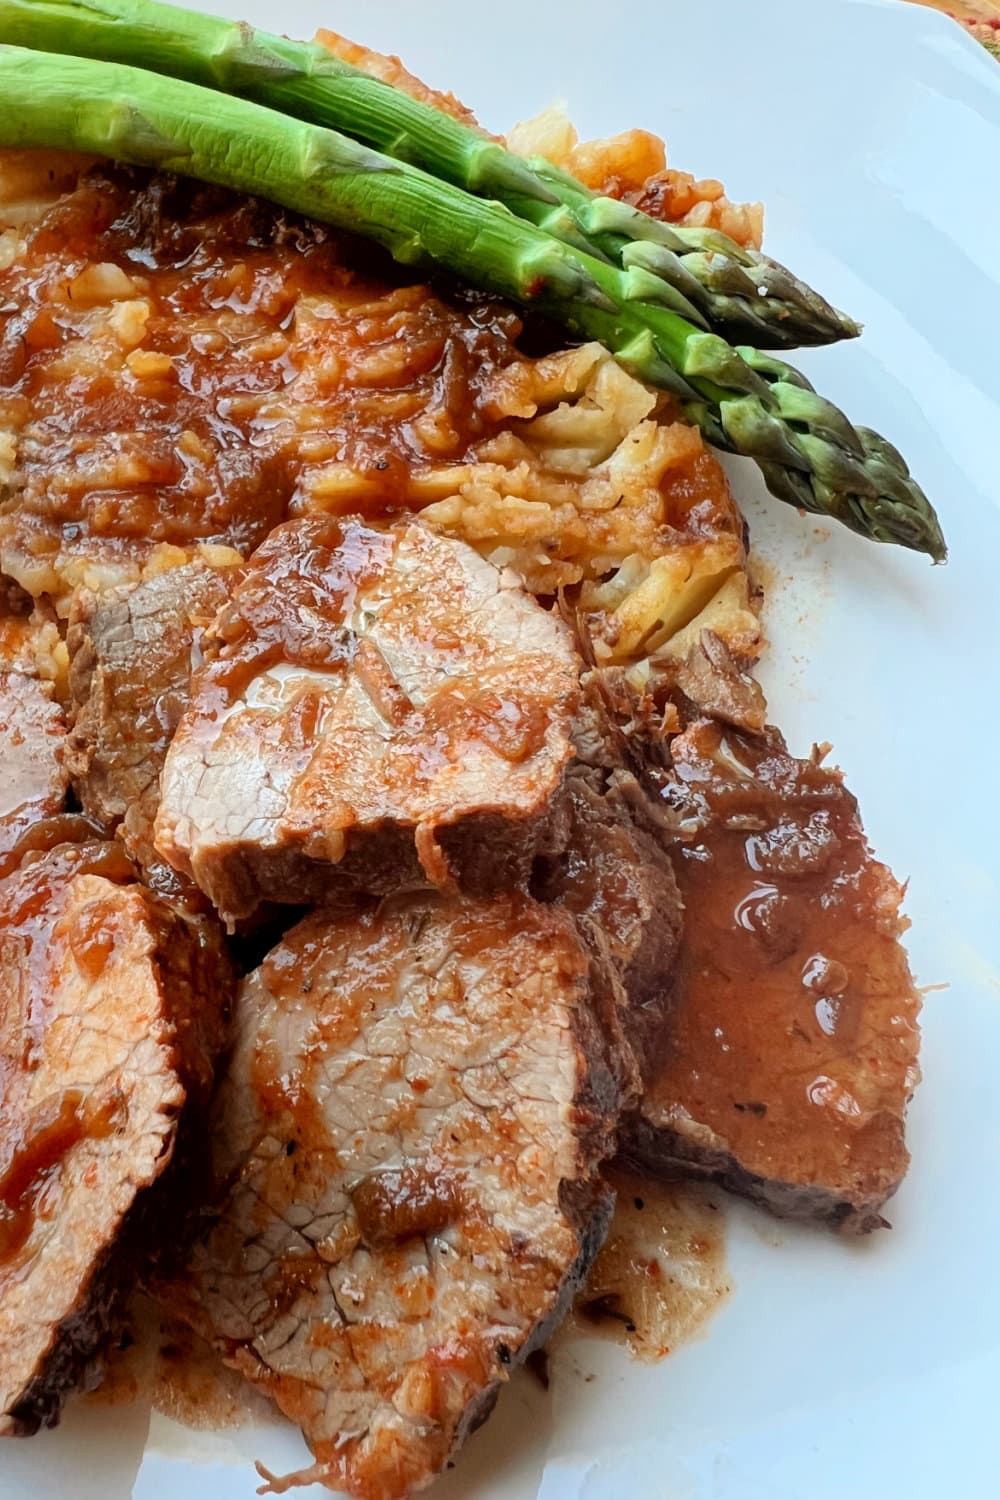
We love having shredded beef around for sandwiches, wraps, pasta, and quesadillas. I often cook a good chuck roast using this method.

Cooking Frozen Meat
If you’re not already in love with your Instant Pot, cooking meat from frozen might do the trick. And it’s super easy to do.
Plus, cooking meat from frozen keeps it out of the temperature danger zone – very important!
I often forget to defrost the meat I plan to cook for dinner. I was thrilled to learn that an Instant Pot remedies that situation. Awesome news, right?!
Can I Put a Frozen Roast in the Crock Pot?
A crock pot, the stovetop, or the oven should never be used for cooking frozen meats.
This is because a slow cooker, the stove top, and the oven gradually increase in temperature. This puts frozen meat into the “temperature danger zone”.
The temperature danger zone is between 40 degrees F. – 140 degrees F., right where bacteria love to grow.
Instead, opt for safe pressure-cooking frozen meat in your Instant Pot!
Cooking frozen meat in an Instant Pot is very safe and quick because heat inside the Instant Pot quickly moves past the temperature danger zone.

Below are 6 best practices I’ve found helpful when cooking meat from frozen in my Instant Pot:
Know up front that cooking frozen meat will take a bit longer than cooking thawed meat in your Instant Pot.
This seems obvious, right? As a reminder, frozen meats will take 50% longer to cook than thawed.
For example, a thawed roast should be cooked under pressure for 15-20 minutes per lb.
A frozen roast should be cooked under pressure for 22-30 minutes per lb. (Always followed by a nice, long natural release!)
It is much quicker than conventional cooking methods, even with the increase in time for cooking meat from the frozen state.
Always add more liquid when pressure cooking frozen meat in your Instant Pot.
The frozen meat should be nearly submerged in the cooking liquid.
This is to be certain that the hot liquids inside the Instant Pot provide a very quick transfer of heat as they move into the protein fibers of the meat, keeping the meat in a safe temperature zone.
Save this Recipe
It will take longer than normal for your Instant Pot to pressurize before it can begin cooking the frozen meat fully.
The contents inside the Instant Pot are ice cold, and more cooking liquid is needed, as explained above.
The cooking liquid inside the Instant Pot has to come up to boiling before it can circulate and create the steam that makes the pot pressurize.
Opt for broth as your cooking liquid.
I cook frozen meats regularly, always using broth instead of water to add extra flavor.
This works great for pressure cooking ground beef, ground sausage, boneless skinless chicken breasts and thighs, cubed beef, and roasts.
If you add any spices you’d like to cook with to enhance flavors, add them before pressurizing to make your flavors more bold.
Don’t try to cook HUGE cuts of frozen meat in your Instant Pot.
I recommend never cooking a hunk of frozen meat that is bigger than 3 lbs. if you are using the standard 6-quart size of Instant Pot.
This is an average size of most beef or pork roast.
If you have a larger Instant Pot (say the 8-qt., 10-qt.or 12-qt.) you can cook cuts of frozen beef and pork that are larger.
However, if the hunk of frozen meat you aim to cook in the Instant is really large, you will probably notice that it hasn’t cooked as evenly as it should.
This might create an eating experience that is less than desirable.
I don’t know about you, but I want to eat meat that tastes GOOD!
Frozen or not, never ever forget to utilize the natural pressure release (not the quick release) once you’ve cooked any meat (whether frozen or thawed) in your Instant Pot.
Every time you cook any animal or vegetable protein be sure to utilize a FULL NATURAL PRESSURE RELEASE, never a QUICK RELEASE.
The natural pressure release provides the meat time to rest and relax the strained protein fibers during the pressure cooking time.
Allowing for the time of a Natural Pressure Release will ensure the meat is fork-tender and juicy like we all desire. Nobody wants to eat chewy, rubbery meat!
Other Helpful Instant Pot Articles –
- 7 REASONS WHY YOU NEED AN INSTANT POT
- THE FIRST 4 THINGS TO COOK IN YOUR INSTANT POT… IN ORDER!
- 14 BEST INSTANT POT TIPS FOR BEGINNERS
- 12 WAYS AN INSTANT POT SAVES TIME IN THE KITCHEN
- THE TOP 6 REASONS YOUR INSTANT POT WON’T PRESSURIZE…..AND WHAT TO DO ABOUT IT
- HOW TO MAKE YOUR INSTANT POT PRESSURIZE FASTER!
- THE BEST INSTANT POT TOOLS AND ACCESSORIES
- YOUR TOP INSTANT POT QUESTIONS…..ANSWERED!
Useful Instant Pot Printables for Your Kitchen

Instant Pot Shredded Beef from a Frozen Roast
Save this Recipe
Ingredients
- 3 lb. chuck roast
- 1 cup beef broth may substitute any broth or liquid preferred
- 2 Tbs. red wine vinegar
- 1 yellow or white onion sliced into thick slices
- 3 cloves garlic whole
Instructions
- Place broth, vinegar, onion slices and garlic into the Instant Pot; add frozen roast on top.
- Lock the Instant Pot lid into place, setting the valve to the "seal" or "pressure" position. Using the High Pressure setting on the Instant pot, set the timer for 75 minutes. Bring the Instant Pot to full pressure and walk away to do something else you need to – no Instant Pot babysitting required.
- When the timer on the Instant Pot sounds, remember that meat always needs the NATURAL release (not the quick release) so that the protein fibers can rest and the roast can continue to cook from residual heat.
- Unlock and remove the Instant Pot lid; transfer the cooked roast (it usually comes out in chunks because it will be so tender) to a cutting board. Using two forks, shred the meat apart; season to taste with salt and pepper. Use the shredded beef at once, or place into freezer bags to freeze and use as part of other meals. **Shredded beef will keep up to 6 months in the freezer. Thaw the beef in refrigeration, not on the counter before using.


I followed the recipe correctly, but the texture of the meat turned out a bit different. I used fresh green chilies instead of chili powder—could that be why the texture changed?
Hello –
I’m so glad you’ve reached out to ask this question! The green chilies could possibly change the FLAVOR, but likely not the TEXTURE. The texture of the meat is different because you are cooking it from FROZEN, and the best eating experience (tender, juicy meat!) is always going to be from meat that has had a good REST at room temperature BEFORE we cook it, no matter what the method of cooking. HOWEVER, sometimes when dinner is an emergency (and it often IS at my house!) we have to cook a roast from frozen just so we can get dinner done in an efficient time frame. I hope this makes sense! Please let me know if you have further questions,
Chef Alli
My roast is 2.88 pounds and sits almost flat in the 6 quart model. However, 1 cup of broth does not cover much of it!
Hi Amy – That’s ok. When cooking in an electric pressure cooker, the meat doesn’t have to be fully submerged. Please let me know how this cooking method works for you!
Sincerely,
Chef Alli
This comment is very grateful.
I didn’t get the Still opt for broth as the cooking liquid section of your content please describe me with full details.
Hi There –
You can use any type of liquid in this recipe for cooking a frozen roast, such as beef, chicken, or vegetable broth (also known as beef, chicken, or vegetable stock), wine, beer, or even water! Liquid is mandatory for using an Instant Pot since the liquid inside is what circulates to make the steam that forces the Instant Pot (or any electric pressure cooker) to pressurize and cook.
I’ve also added a recipe card to this post: Instant Pot Shredded Beef Using a Frozen Roast
I hope this helps! If I can help in any other way, do let me know – I hope I’m not misunderstanding what you need.
Sincerely,
Chef Alli