Best Ever Corn-On-The-Cob Hacks and Recipes
Best Ever Corn-On-The-Cob Hacks and Recipes! Summertime simply wouldn’t be summertime without sweet corn….am I right? Whether you grow it yourself, snag it at a roadside stand, or purchase it at you local Farmers Market, it’s a special summer treat.
I really enjoy finding fresh produce stands that pop up in small towns across Kansas as I travel. I can never resist – I’ve always got to stop and “pick up a few things” – usually more sweet corn and definitely home-grown cantaloupe and tomatoes. I hit as many Farmers Markets as I can, too – so much Kansas bounty to enjoy while the gettin’ is good. 🙂
Below are some of my favorite ways and speedy hacks for enjoying summer sweet corn, aka corn on the cob. Enjoy!
1. Whip up Some Fresh Herb Butter for Your Sweet Corn
If you’re like me and you enjoy growing fresh herbs each summer, put them to good use by creating some quick and delicious flavored butters for your sweet corn.
Fresh Herb Butter
Save this Recipe
Ingredients
- 1 cup assorted fresh herbs, chopped, such as flat-leaf parsley, chives, rosemary, thyme, basil, tarragon
- 1 clove garlic, peeled
- 1/2 cup unsalted butter, softened
- 1/2 tsp. fresh lemon zest
- 1 tsp. fresh lemon juice
- kosher salt and freshly ground black pepper, to taste
Instructions
- Pulse herbs and garlic in a food processor until finely chopped. Add butter, lemon zest, and lemon juice and process until smooth; season with salt and pepper.
Notes
Nutrition
Nutritional Disclaimer
Chef Alli is not a dietitian or nutritionist, and any nutritional information shared is an estimate.
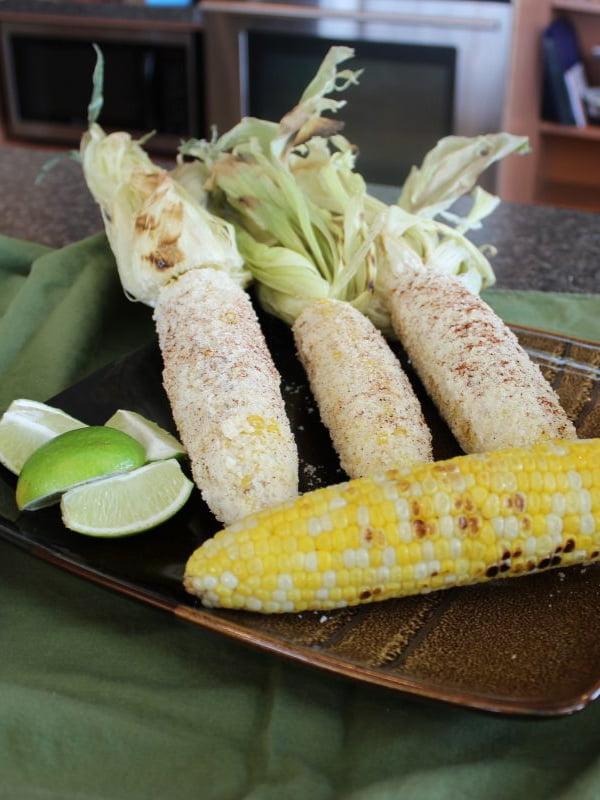
2. Make Delicious Cuban Street Corn with Parmesan and Lime
You haven’t LIVED until you’ve made and enjoyed a batch of Cuban Sweet Corn with Parmesan and Lime! Yes, it’s messy, but you’ll soon see how “worth it” this Cuban-inspired sweet corn is – talk about totally addictive. 🙂
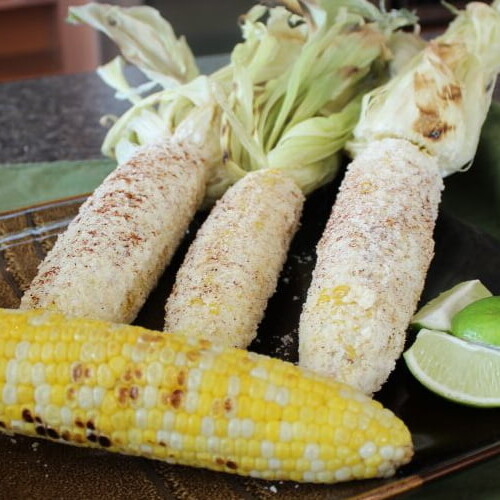
Mexican Street Corn with Parmesan and Lime
Save this Recipe
Ingredients
- 8 ears fresh corn on the cob
- 1/2 cup sour cream
- 1/2 cup mayonnaise
- 1 cup grated Parmesan cheese
- kosher salt to taste
- 1/4-1/2 tsp. red pepper flakes
- 1 tsp. chili powder
- zest 2 limes
Instructions
Instant Pot Method for Cooking Corn on the Cob
- Add 1 cup water and 1 Tbs. sugar to the Instant Pot; add 5-6 ears of husked and cleaned corn, standing them up vertically, if needed. Lock the Instant Pot lid into place; choose the high pressure setting for 3 minutes, bringing the Instant Pot to full pressure. When the timer sounds, perform a quick release to remove all the pressure from the Instant Pot; using tongs, remove the ears of corn to a platter.
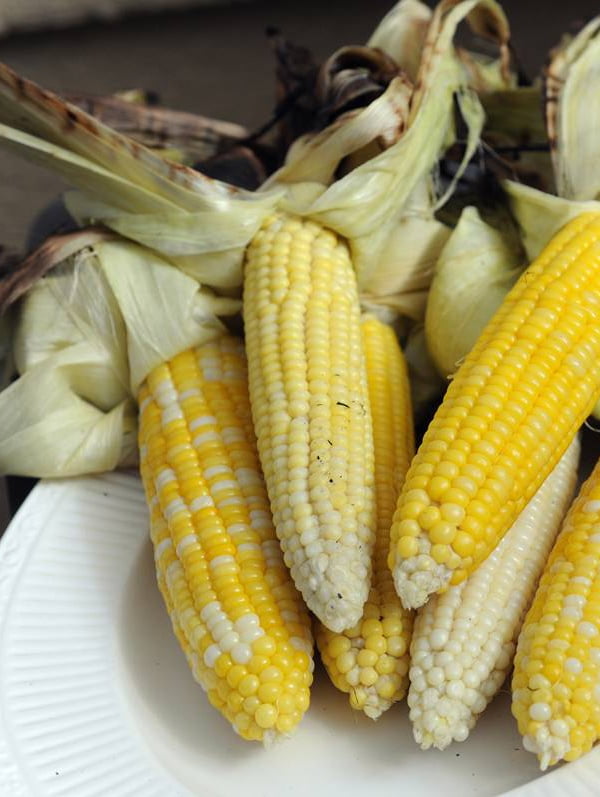
Grilled Method for Cooking Corn on the Cob
- Pull the corn husks back, leaving them intact to use as handles. Place the ears of corn over medium heat on an oiled grill (or a grill pan) just until the kernels begin to char and blacken, approx. 8-10 minutes, turning the ears as you grill them.
Oven Method for Cooking Corn on the Cob
- Leaving the corn husks in tact on each ear of corn, place the corn onto a rimmed baking sheet, as much as 2 layers deep. Place the corn into a preheated 350 degree oven for 25-30 minutes or until hot throughout.
Microwave Method for Cooking Corn on the Cob
- This is the best method for quickly cooking corn on the cob for just a few people. Place 1-4 ears of corn into the microwave, side by side, leaving a bit of space between each ear. Using full power, cook the ears of corn for 3-4 minutes. When the timer sounds, use hot pads to remove the corn from the microwave, placing each ear onto a hot pad that placed into one hand. Using a hot pad on your free hand, use it to pulled the hot husks and the corn silk back and away from the corn; the husks should come off fairly easily, along with the silk. Repeat with the remaining ears.
Cooler Method for Making Corn on the Cob
- When cooking corn for large groups, this is a great way to do it. I admit I was a little skeptical at first, but it works very well. Place 18-24 ears of shucked corn into a large cooler. Boil A LOT of water, the pour it over the corn in the cooler and close the lid. Come back in 30 minutes and guess what?? Your corn is ready to serve.
How to Prepare the Mexican Street Corn
- Combine the Parmesan cheese, kosher salt, red pepper flakes, chili powder and lime zest in a large, shallow dish or platter, spreading it out in a single layer.
- In a small mixing bowl, combine the sour cream and mayonnaise; use a silicone pastry brush to slather this mixture up and down each ear of corn, on all sides.
- Roll the slathered ears of corn in the prepared Parmesan mixture until well-coated. Serve at once.
Notes
- When choosing corn on the cob, pull back the husks and take a look at the corn kernels. I prefer kernels that are on the smaller size since they are usually more tender. Press your fingertip against one of the kernels; if it squirts corn juice at you, it's just right.
- To store corn on the cob, keep tightly wrapped in the husks, then place the ears into a plastic bag. This will help hold the moisture within the ears until you are ready to enjoy them. Husk the corn right when you are ready to cook it.
- Purchasing corn on the cob at your favorite farmers market is always a good idea since typically it's grown locally and is in season in your area. Or, purchasing corn on the cob at your local grocery store is okay, too, since lots of grocers partner with local farmers to purchase produce.
- If you get a hankerin' for Mexican Street Corn in the winter months, remember that you can always purchase frozen corn on the cob at the grocer, as well. It might not be quite as good as fresh summer corn on the cob, but almost.
Nutrition
Nutritional Disclaimer
Chef Alli is not a dietitian or nutritionist, and any nutritional information shared is an estimate.
3. Quick-Cook Corn on the Cob in Your Micro
At our house, we are always eating in shifts, just one or two of us at a time due to busy schedules and farm life. Cooking a couple of ears of corn at a time is so handy! Place an ear of corn into the micro, husks and all, cooking it in full power for 4 minutes. For each additional ear of corn, add 1 more minute. (As an example, 2 ears of corn take 5 minutes, 3 ears of corn need 6 minutes.)
Place the ear of hot corn into your hand that’s covered with an oven mit; using a hot pad in your other hand, pull the husks away from the ear of corn. You will be absolutely amazed at how easy it ALL comes right off, silk included. We love this way of cooking corn on the cob!
**As another option for removing the corn from the husks, lay the hot corn on a cutting board and and use a sharp knife to cut off the bottom end of the corn (where it would attach to the corn stalk), then squeeze at the other end, forcing the corn to slide right out, leaving the husks and corn silk behind.
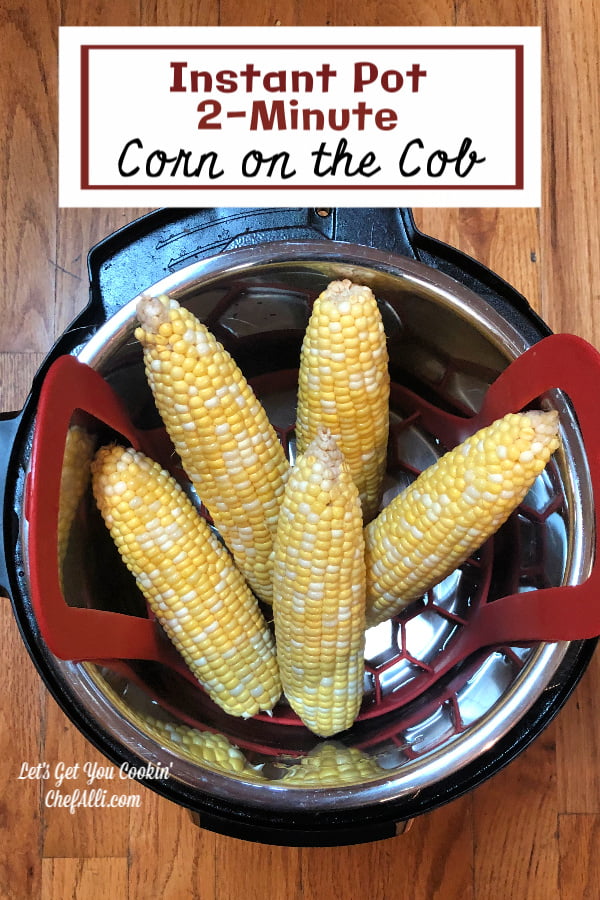
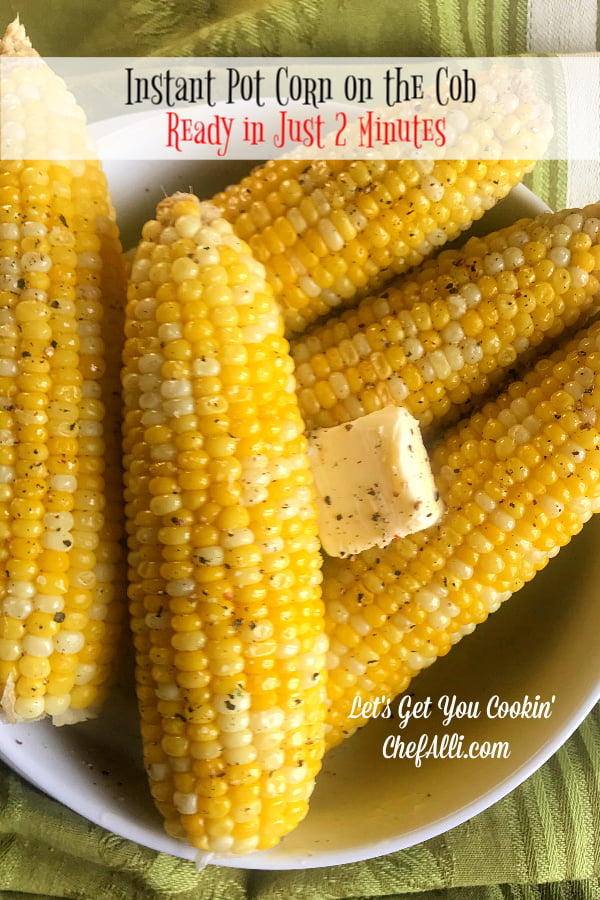
4. Corn on the Cob is Instant Pot Easy, too!
Place your trivet into the bottom of your Instant Pot, add 1 cup of water that has been combined with 2 Tbs. of granulated sugar. Stand as many ears of shucked corn into the Instant Pot as will fit, (5-6 ears for the 6-qt Instant Pot or 8-10 ears for the 8-qt Instant Pot, depending on the size of the ears) then set the timer for 3 minutes. When the timer sounds, perform a quick release to remove all pressure from the Instant Pot. Remove the lid and lift the perfectly-cooked ears of corn the pot and serve.
5. Three Great Ways to Make Sweet Corn for A Crowd
-
Make Cooler Corn
When cooking corn for large groups, this is a great way to do it. I admit I was a little skeptical at first, but it works so well! Place 18-24 ears of shucked corn into a large cooler. Boil A LOT of water, the pour the boiling water over the corn in the cooler and close the lid. Come back in 30 minutes and guess what?? Your corn is ready to serve. 🙂
Save this Recipe
-
Batch Some Oven Corn
Did you know you can make “bake” corn on the cob right in your oven? Place the corn (husks and all) onto a large baking sheet, creating 2 layers. Place the corn into a preheated 375 degree F. oven on the center rack. Bake the corn, uncovered, for 30 minutes, rotating the ears of corn from top to bottom half way through the cooking time. To serve, pull the husks back, then butter the corn as usual.
-
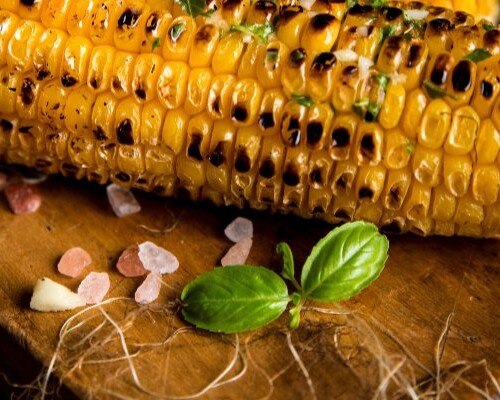
Fill the Grill
Grilled corn can really make a fun party! Make it even more fun by creating a “husk handle” on each ear of corn. Peel back the husk on each ear, taking care that the husk remains attached at the bottom. Remove the corn silk, then tear a skinny strip of corn husk from what you’ve pulled back, using it to tie the corn husk together, creating a handle.
To grill the corn, use the handles to place the ears of corn onto the grill over medium high heat, turning the corn from time to time to cook and char it on all sides. The corn will be ready to enjoy in 20-25 minutes.
6. Two Easy Ways to Butter Corn on the Cob
-
Buttered-Bread Corn
Slather a thick slice of bread with softened butter. You now have the best way to butter an ear of corn right in the palm of your hand. Wrap the buttered bread around the corn and give it a gently twist. (Now the hard part: Do you pass it for someone else to use, or be selfish and eat that yummy piece of buttered bread??)
-
One-Pot Boiled Buttered Corn
If you’re cooking corn on the cob in a pot of boiling water on the stove or over an outdoor cooking source, make it super easy for everyone by buttering their corn for them! When the corn is fully cooked, drop a stick or two of butter into the hot water and let it melt. As you lift the ears of corn from the water, they will pass through the layer of melted butter that’s laying on the very top of the water, placing a nice coating of melted butter on each ear. Just add salt and pepper!
7. When the Snow Blows, Pull Some Sweet Corn Out of Your Freezer to Bring Back Summertime
When sweet corn is abundant, we sometimes forget about the long winter season when we don’t have access to fresh ears of corn. Cutting corn off the cob and freezing it for later, is much easier than you may realize.
I love to use my bundt pan for cutting corn off the cob. First, lay out several sheets of parchment paper or wide aluminum foil, creating a large work area. Insert a shucked ear of sweet corn into the hole in the center of your bundt pan, letting it stand tall and straight. Holding the very top of the ear of corn with one hand, use a sharp utility knife in the other to cut down the cob, turning the bundt pan as you go to have easy access to cutting the kernels from every side of the ear of corn. Most of kernels will fall into the bundt pan as you cut them from the cob, but a few will get crazy and bounce wildly onto your work surface, so just be ready.
Place the shucked corn into quart freezer bags, pressing out the air and sealing the top of each bag. Press each bag flat, placing it into the freezer to freeze individually. When each bag of corn is frozen solid, stack them on top of each other in your freezer to save lots of space. I usually write a date on each bag before filling it, though we’ve never actually gone through a winter where we had any sweet corn left over, so daring it was pretty pointless.
**Please note: Many people blanch their corn before freezing it, also adding salt and sugar to the corn, and I, too, used to do it this way. However, for whatever reason, one year I simply forgot this step in the process. Funny thing is, when I used that un-blanched sweet corn that winter, I could see absolutely no difference – it was just as delicious as ever! From that point forward, I eliminated the blanching step, saving myself a TON of time and effort.
8. Cool Tools for Summer Corn on the Cob
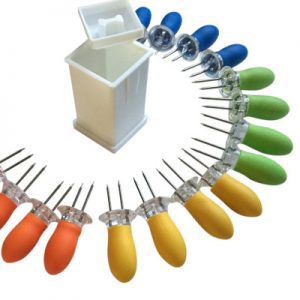
Jumbo Corn on the Cob Holders
You’ve probably already got some corn cob holders, but are they JUMBO? I like these because they are easy to hold….and harder to lose in my kitchen drawer!
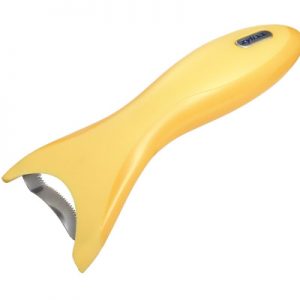
Zyliss Hand-Held Corn Stripper
This guy has an ergonomic handle designed for comfortable use in the kitchen, and it strips corn from the cob super quickly. I do this over my biggest rimmed baking sheet to gather all the kernels.
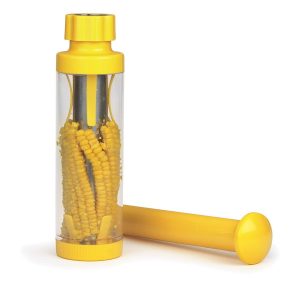
Deluxe Corn Shucker
This tool makes removing kernels from the cob easy and mess-free since all the kernels stay inside the cylinder. All the corn juice splatters stay inside, too. This guy is dishwasher safe for easy clean up.
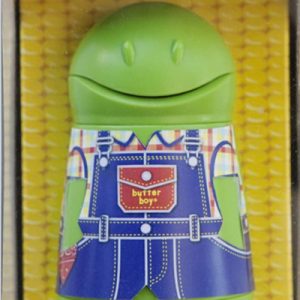
Corn Boy Corn Butterer
I love this as a hostess gift because he’s so dang cute….AND useful! This guy holds one stick of butter and then you just remove the cap to glide the butter over the hot corn on the cob. All parts are dishwasher safe.